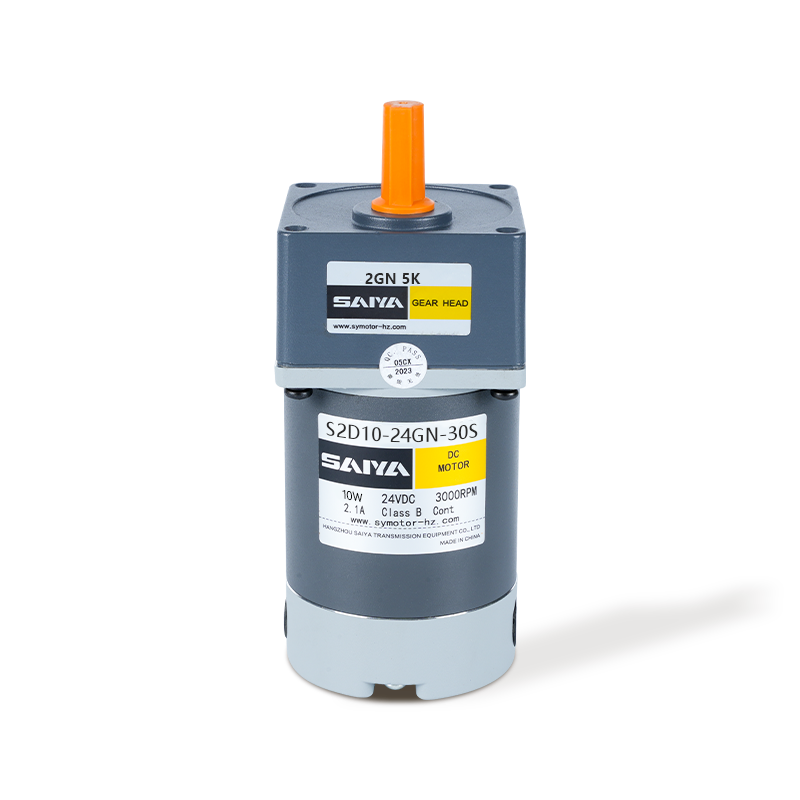
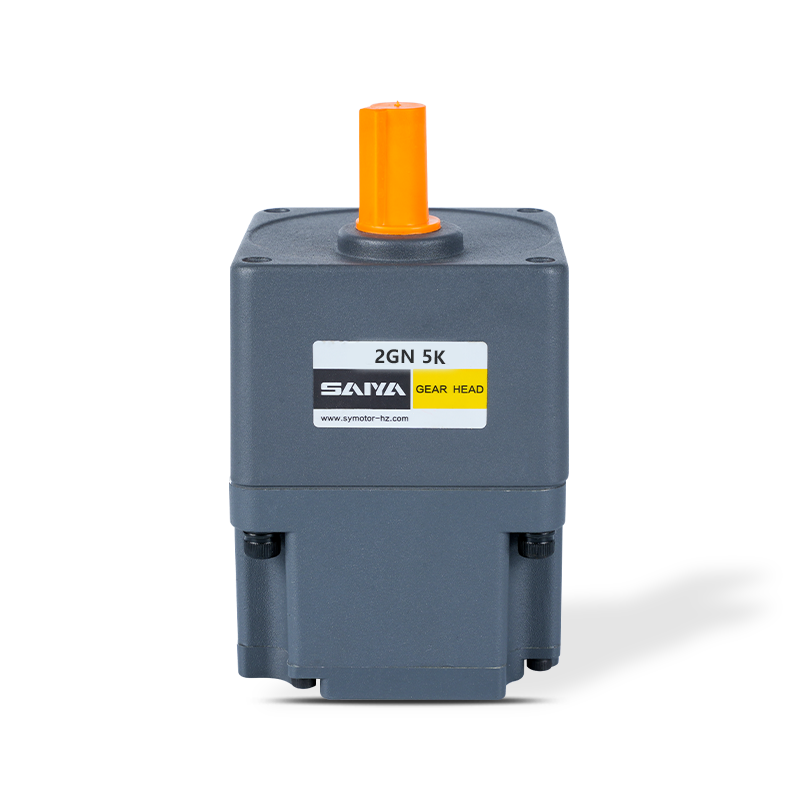
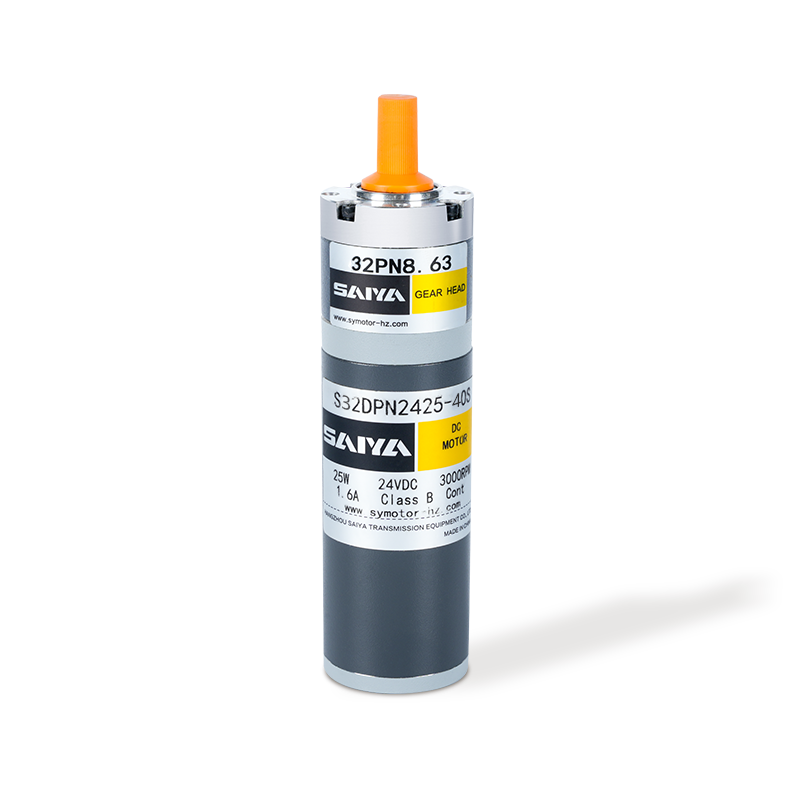
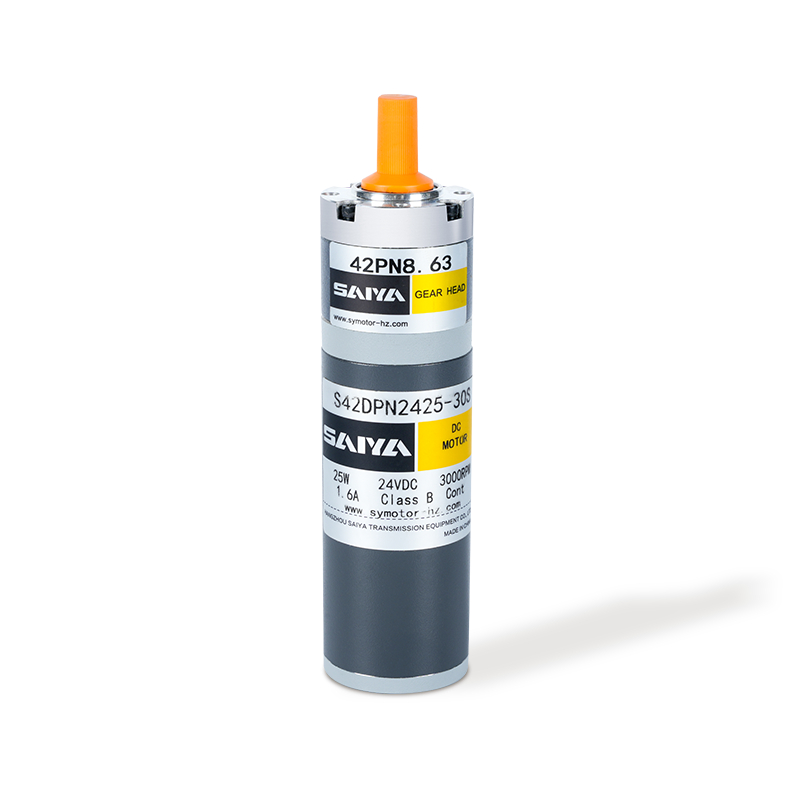
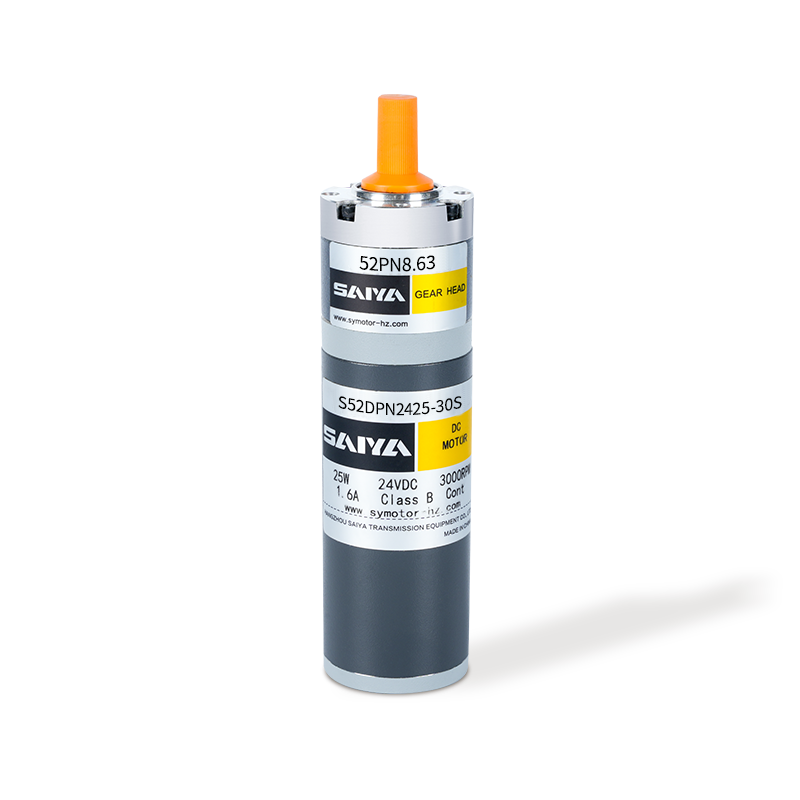
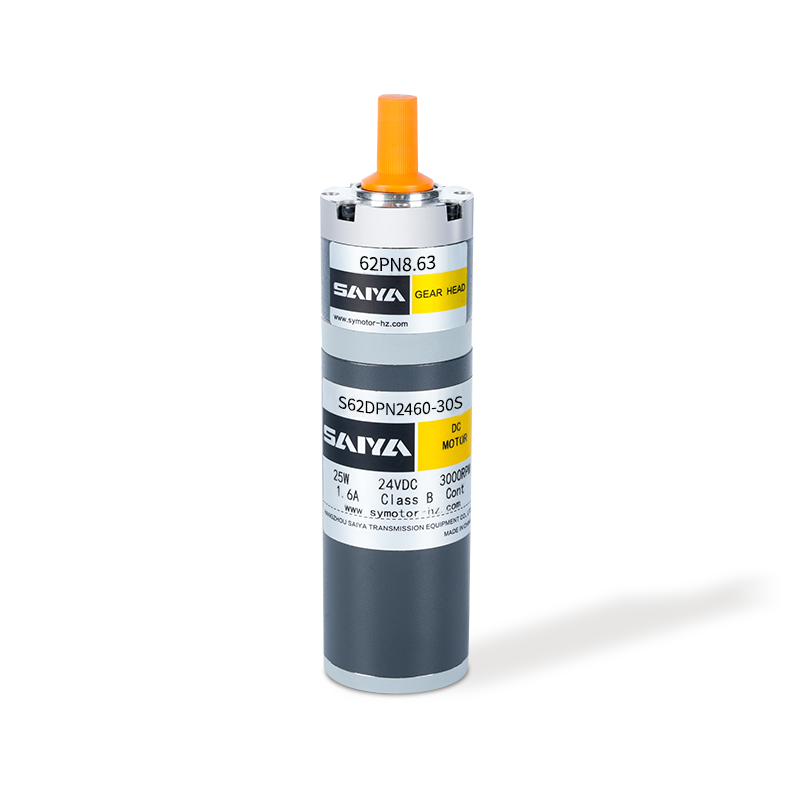
Installation steps for servo motor specific reducer
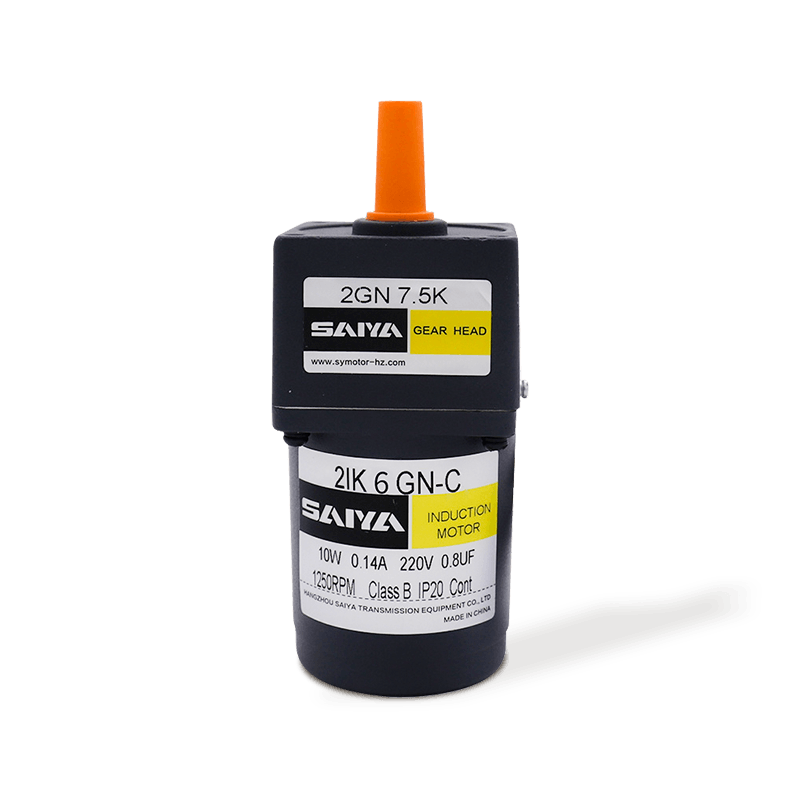
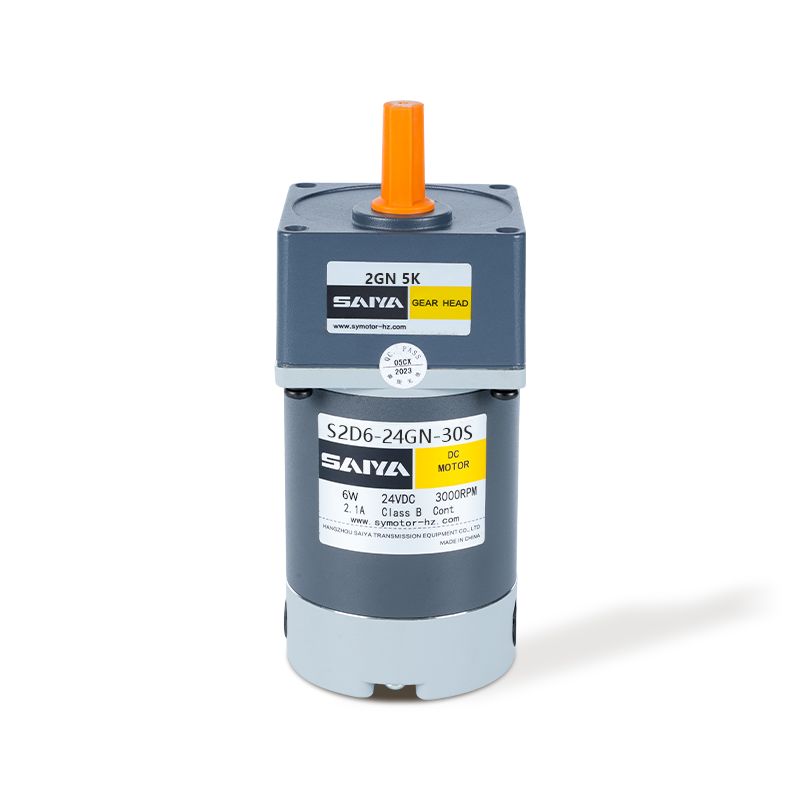
In the reducer family, servo motor-specific reducers are widely used in servo, stepper, DC and other transmission systems due to their advantages of wide deceleration range, high transmission efficiency, small size, and high accuracy. A servo motor-specific reducer is a mechanical device used to reduce speed when transmitting power in a motion system. Its function is to increase torque, reduce speed, and reduce the load/motor moment of inertia ratio while ensuring precise transmission. To better assist users in using planetary reducers, this article analyzes the reasons for the broken shaft of the reducer and a drive motor and provides a detailed introduction on how to correctly install servo motor specific reducers.
Proper installation, use, and maintenance of servo motor specialized reducers are important steps to ensure the normal operation of mechanical equipment. Therefore, when installing a servo motor-specific reducer, please strictly follow the following installation and usage-related matters, and assemble and use it carefully.
1. Before installation, strictly check whether the dimensions of the connecting parts between the motor and reducer match and confirm whether the motor and reducer are intact. Here are the dimensions and fitting tolerances of the positioning boss, input shaft, and reducer groove of the motor.
2. Adjust the PCS system clamping ring, unscrew the screw on the outer dust hole of the reducer flange, align the side hole with the dust hole, and insert it into the hexagonal socket to tighten. Afterward, remove the motor shaft key.
3. Connect the motor and reducer naturally. When connecting, ensure that the outer flanges of the reducer output shaft and the motor input shaft are parallel and concentric. Due to inconsistent concentricity, the motor shaft may break or the reduction gear may wear out.
In addition, during installation, to prevent excessive axial or radial forces from damaging bearings or gears, it is prohibited to use a hammer to strike. Ensure to tighten the installation bolts before tightening the pressure bolts. Before installation, wipe the anti-rust oil on the motor input shaft, position the boss, and reducer connection with gasoline or zinc sodium water. Its purpose is to prevent unnecessary wear and ensure the tightness of the connection and the flexibility of operation. Before connecting the motor and reducer, please make the keyway of the motor shaft perpendicular to the fastening bolt. Please tighten the installation bolts at any diagonal position to ensure even force, but do not tighten them. Then tighten the installation bolts at the other two diagonal positions, and then tighten the four installation bolts one by one.
After completing the above steps, tighten the bolts. All fastening bolts should be fixed and inspected using a torque wrench according to the marked fixing torque data. Please note that the relevant data for a right-angle reducer is not the same as that for a linear reducer of the same type. The key to the correct installation between the specialized reducer for servo motors and mechanical equipment is to ensure that the concentricity of the output shaft of the reducer is consistent with the concentricity of the driven part of the shaft, similar to the correct installation between the reducer and the drive motor.


 EN
EN  English
 中文简体
中文简体 русский
 Español
